Easy Pressed-Leaf Gold Canvas Craft for Kids
Easy Pressed-Leaf Gold Canvas Craft for Kids
Turn leaves from your own yard into beautiful, inexpensive nature-inspired art you will actually want to display.
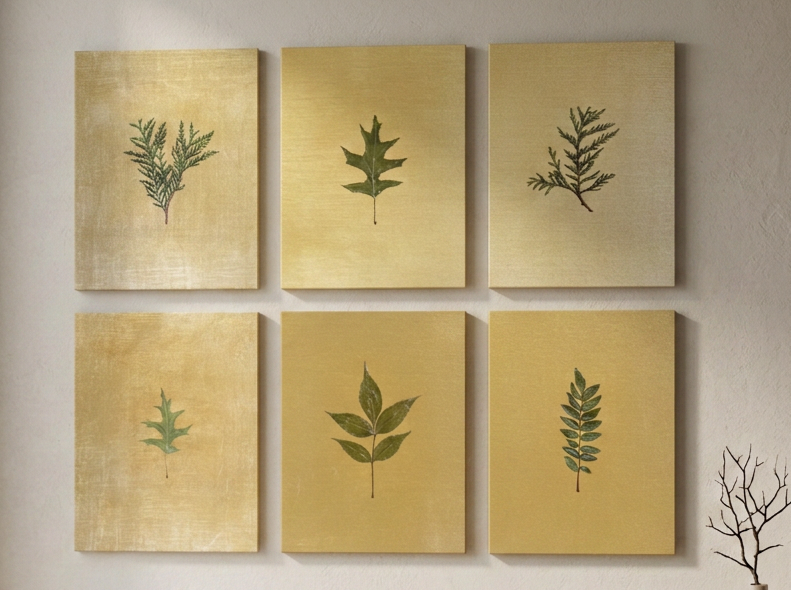
Some of my favorite kids’ crafts are the ones that begin with materials we already have around us. For this project, we collected small leaves and evergreen sprigs from the yard, pressed them inside heavy books, and turned them into simple gold botanical canvases.
The finished pieces look surprisingly elegant, but they are inexpensive and easy enough for kids to make. They bring a little bit of nature inside, and every canvas is completely unique because every child chooses and arranges the greenery differently.
This is a wonderful rainy-day indoor activity, but it is just as fun to set up outside on a warm summer day. We painted and sealed ours in the yard, which made cleanup much easier.
Most importantly, displaying children’s artwork in the home sends a powerful message: Your ideas matter. Your creativity belongs here. What you make is worth seeing.
Supplies
Fresh leaves, ferns, flat evergreen sprigs (or flower petals) collected from your yard or neighborhood
Heavy book, or several stacked books, for pressing greenery for 14+ days
Parchment paper, wax paper or paper towels to protect the book pages and absorb moisture from leaves
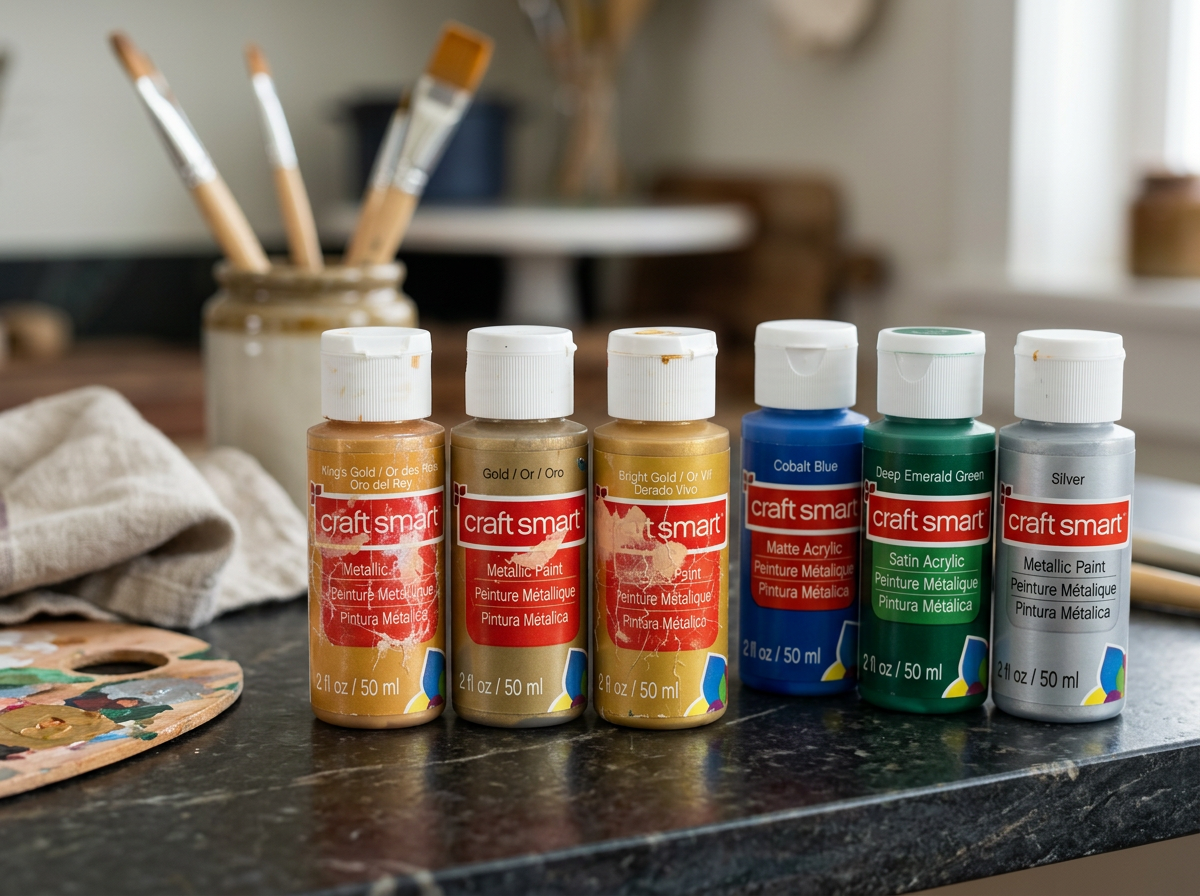
Gold metallic acrylic craft paint: Royal Gold, Radiant Copper, Sahara Gold
Newspaper, cardboard, or paper bags to cover indoor or outdoor work surface (acrylic paint does NOT come out)
Children’s art smocks or wear inside out clothing you don;t care if it gets paint on it (acrylic paint does NOT come out)
You can find all of the supplies for this project using the links above and on my Amazon storefront.
Affiliate disclosure: As an Amazon Associate, I earn from qualifying purchases. I only share products that I would recommend to friends and family, are necessary for the activities I create, and are the lowest price I can find to use myself!
Step 1: Collect Your Leaves
Take a short nature walk through your yard or neighborhood and invite your children to look for leaves with interesting shapes. Flat leaves, delicate ferns, and thin evergreen sprigs work especially well.
Choose greenery that is clean, dry, and free of visible mold, insects, or damage. Avoid very thick, fleshy, or wet leaves because they take much longer to dry and may not press well. Only collect plants you can safely identify, and remind children not to pick unfamiliar plants or put any part of a plant in their mouths.
This part of the project can become a learning activity of its own. Children can compare shapes, notice patterns and veins, sort their finds by size, or try to identify the plants they collected.
Step 2: Press the Leaves Until They Are Flat and Dry
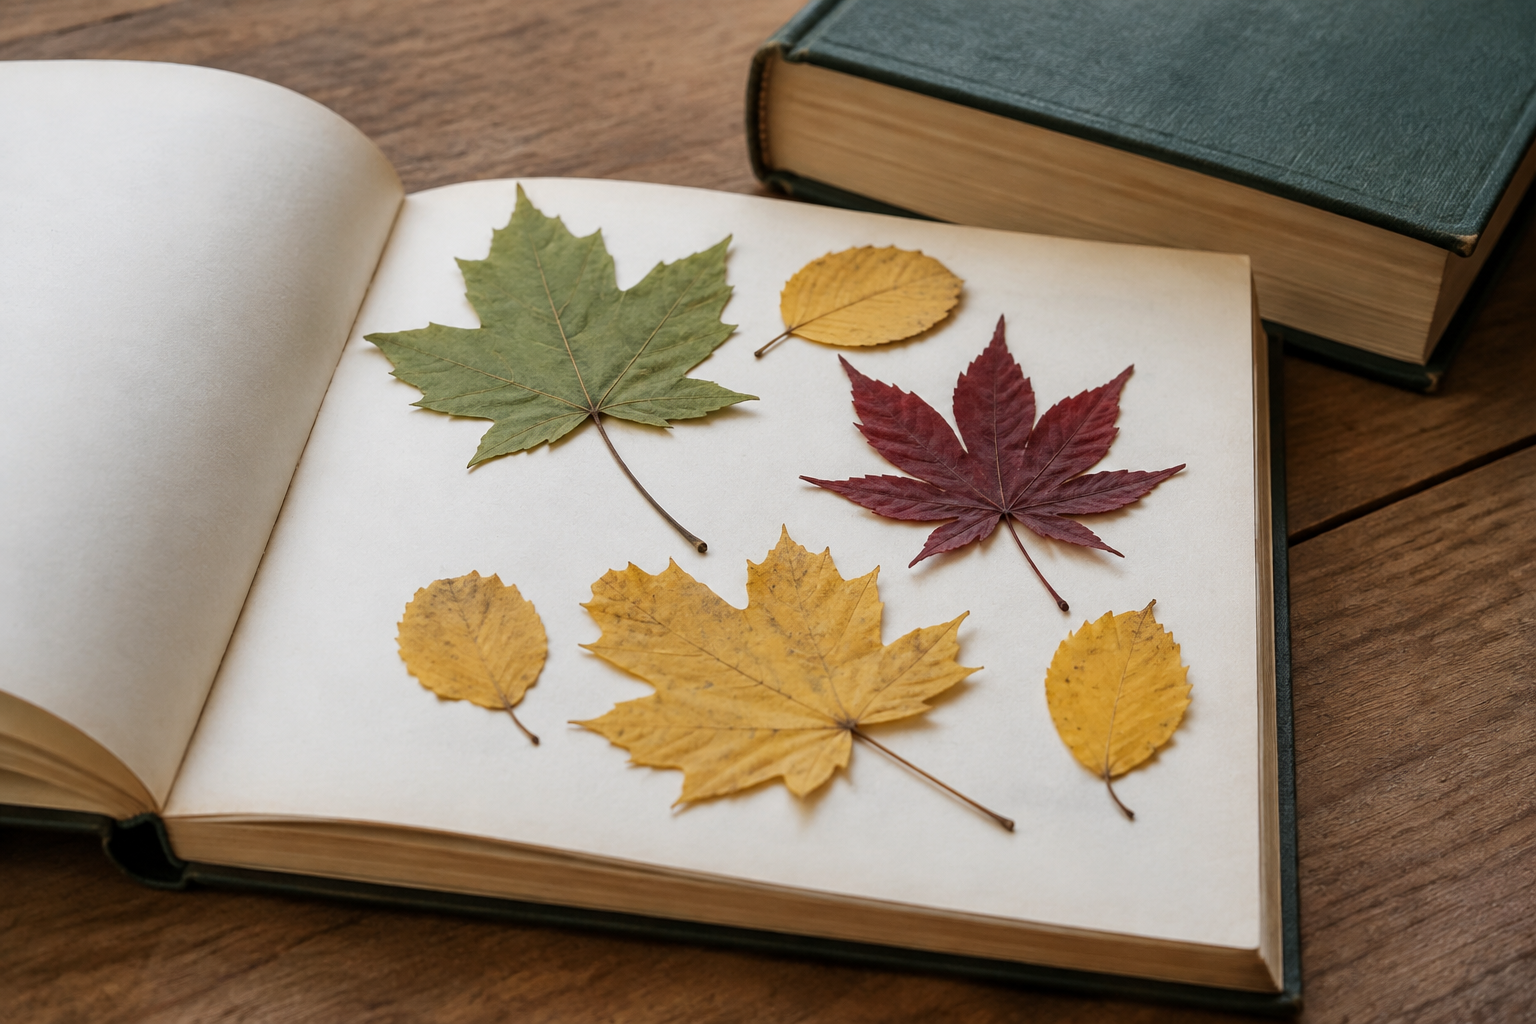
Place each leaf or sprig between two sheets of plain paper or paper towel. Arrange the pieces so they do not overlap. Put the covered leaves inside a large, heavy book, then stack one or two more books on top. If you do not have one large, heavy book, place the greenery inside a thinner book and stack several books on top.
Leave thin leaves pressed for 7 to 14 days. Small evergreen sprigs may be ready in about a week, but thicker or moisture-rich leaves can take two weeks or longer. If the paper feels damp after the first day, replace it with fresh, dry paper.
Full disclosure: I let my leaves sit for nine months, from fall to spring, pressed inside a heavy art book on a bookshelf before I finally felt inspired to use them! That is part of the beauty of pressed leaves: once they are completely dry, they can remain beautifully preserved for years.
Use them for a burst of nature on a snowy day, save them for a rainy-day indoor activity, or do what I did and turn them into the most peaceful sunny-day project on your back deck or front stoop.
The greenery is ready when it feels completely dry and lies flat. Starting with thoroughly dried leaves is the most important step for helping the finished art last.
Pressed leaves naturally become more muted and may slowly change color over time. The sealer protects them and helps the artwork last longer, but it cannot permanently preserve the exact original color of every plant.
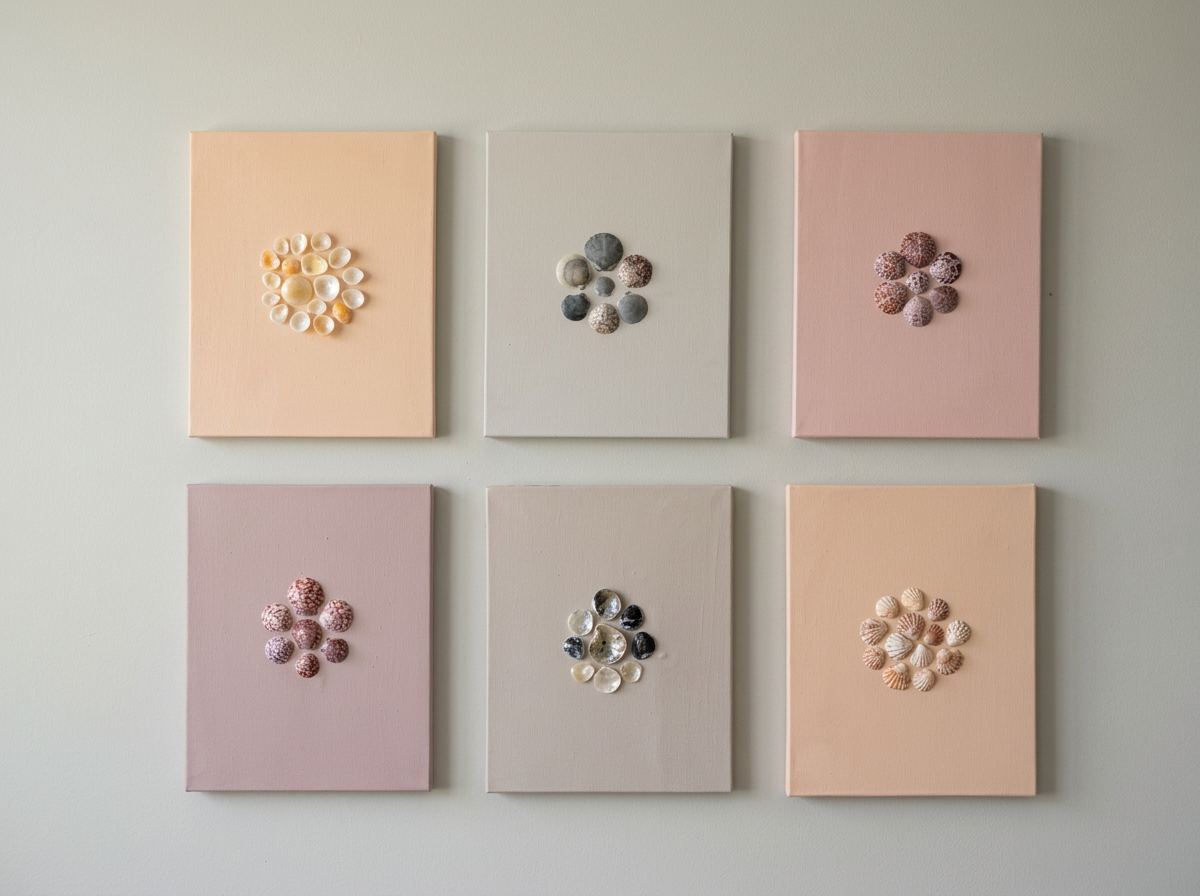
Try It with Pressed Flowers or Seashells
You can also preserve and display pressed flower petals, but keep in mind that they are extremely delicate. Consider gently dabbing on the sealer with a soft sponge instead of brushing it over the petals, which could cause them to rip, tear, wrinkle, or crumple. Adult help may be needed for this step. You can also create beautiful, nature-inspired canvas art with seashells! I’ll share the complete seashell version in an upcoming post.
Step 3: Paint the Canvases
Cover your table or take the project outside. Let the children paint the entire front of each canvas with gold acrylic paint or any color of your choice. Encourage them to paint the sides of the canvases for a more finished look.
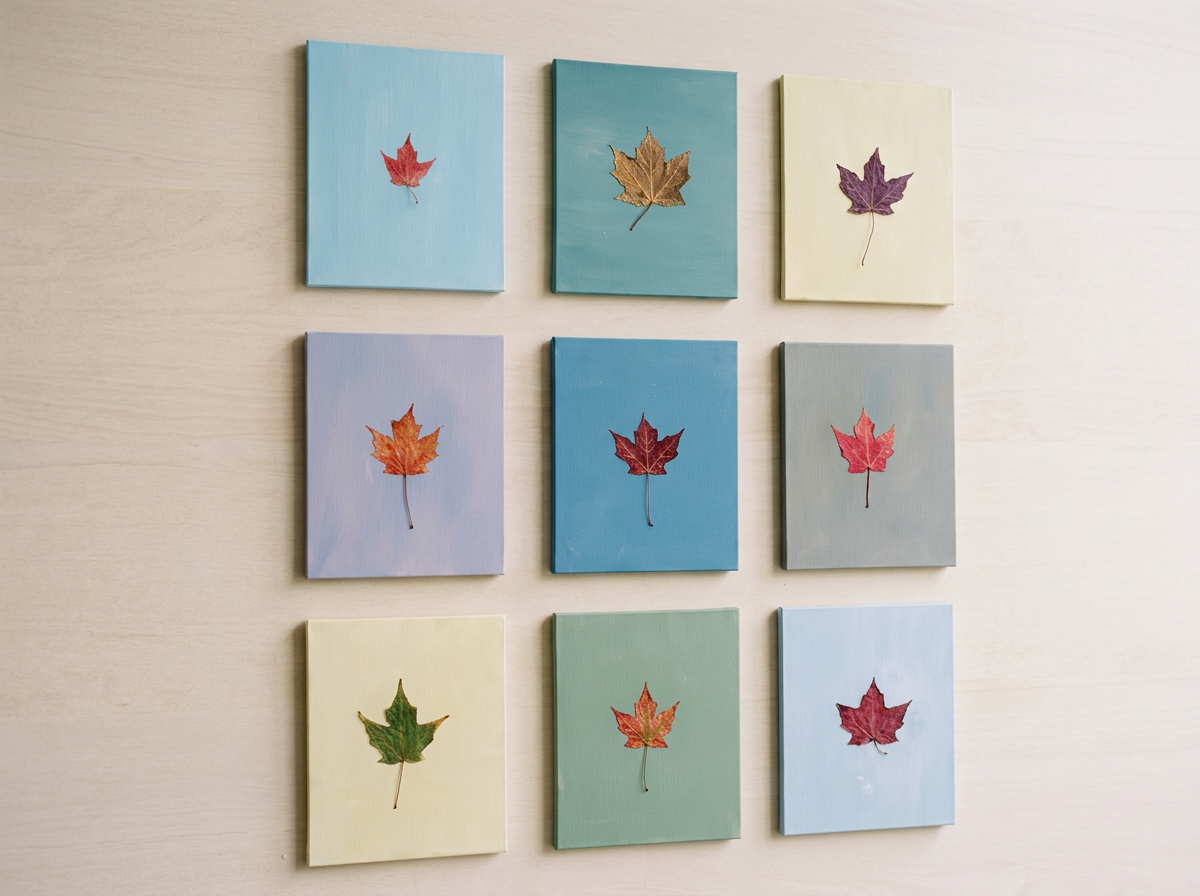
Invite children to choose complementary colors, or colors located opposite each other on the color wheel, for extra contrast. Try red with green, yellow with purple, or blue with orange. Gold and green are not technically opposite colors, but they still create a beautiful nature-inspired contrast. Ask children to predict which combinations will make their leaves stand out most, then compare the finished artwork.
One coat may be enough, but a second thin coat may be necessary to cover any white canvas showing through. Let the first coat dry before adding another. Drying time varies by paint and weather, but thin coats of acrylic craft paint often feel dry within 30 to 60 minutes.
We used canvases that were 8 x 10 inches or smaller. Mini canvases are inexpensive, dry quickly, and look beautiful displayed together as a collection. No frames are needed as you can use 3M tape to mount the canvases directly to the wall.
Step 4: Arrange and Glue the Greenery
Before opening the glue, let each child experiment with the placement of the pressed leaves. They might center one simple evergreen sprig, overlap several small leaves, create a border, or arrange the pieces into an abstract botanical design.
Once they are happy with the arrangement, brush a thin layer of water-based decoupage glue onto the canvas where each leaf will go. Gently lay the leaf on top and press it down with clean fingers or the brush. Work slowly because dried leaves can be delicate.
If an edge keeps lifting, add a tiny amount of glue beneath it and gently smooth it back down.
Step 5: Add a Shiny Protective Coat
After the leaves are attached, brush or dab a thin, even layer of gloss decoupage sealer over the entire canvas, including the greenery using a brush or sponge. The product may look white or cloudy while wet, but it should dry clear. Follow the drying directions printed on your specific product.
Use gentle strokes over delicate leaves so they do not tear or shift. A second thin coat can be added after the first coat has dried if you want a shinier, more durable finish.
Let the finished canvases dry flat and undisturbed for at least 24 hours before displaying them. Keep them away from direct sunlight, heat, and damp rooms to help the leaves and finish last longer.
For a child-friendly project, choose a nontoxic, water-based brush-on product and supervise its use. If you decide to use a spray sealant instead, an adult should apply it outdoors according to the label while children remain away from the area.
Displaying Your Child’s Nature Art
Create a High-End Gallery Wall Without the High Price
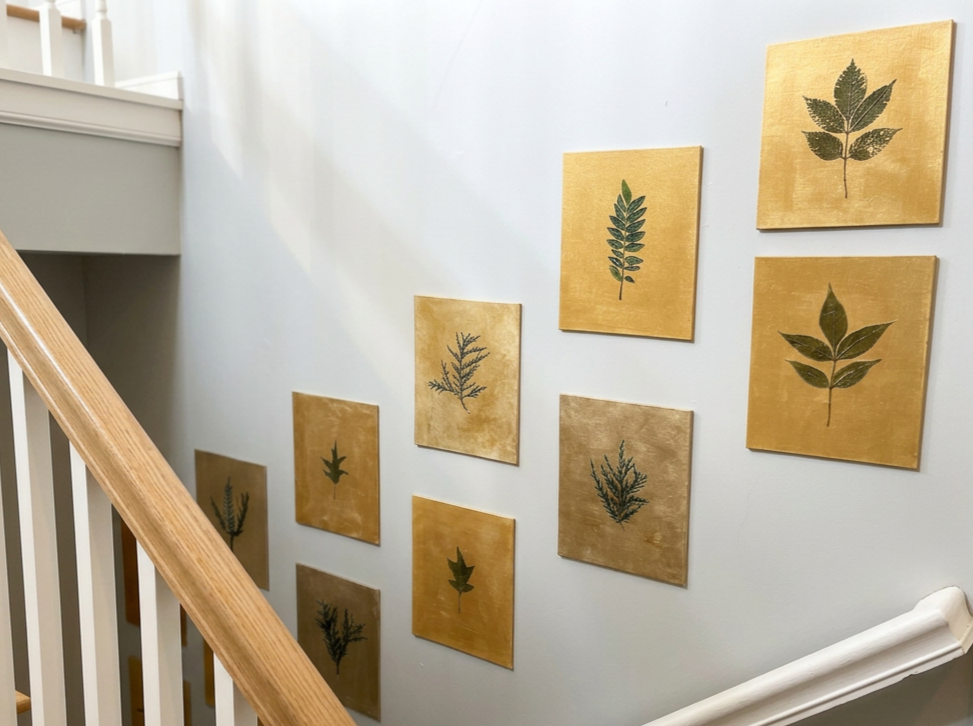
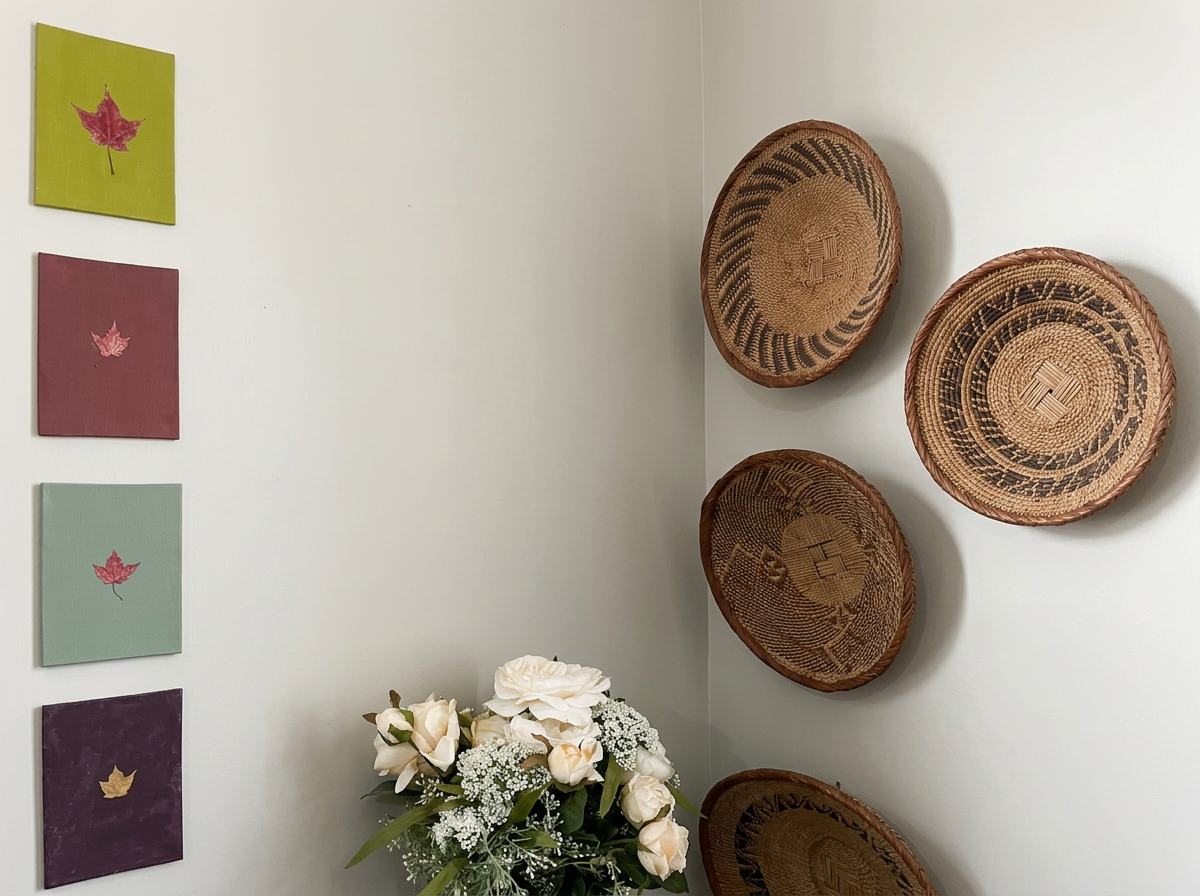
One of my favorite things about this project is how easily these little canvases create the look of high-end botanical art without expensive frames, mats, or wall hardware. There is no need for hammers, hooks, or holes in the wall. We simply arranged the 8 x 10-inch canvases in a gallery-style grouping and attached them directly to the wall with removable 3M mounting strips rated for the weight and wall surface. The finished display is inexpensive, polished, and completely personal. Best of all, children get to see their own artwork treated like something truly valuable, which helps them feel proud of what they created and reminds them that their creativity deserves a place in the family home.
The small canvases look beautiful:
Arranged together on a picture ledge
Displayed on miniature wooden easels
Propped on a bookshelf or mantel
Hung in a hallway gallery wall
Given to grandparents or teachers as handmade gifts
Used as inexpensive seasonal decor
You could also write the child’s name, age, the type of plant, and the date on the back. Years later, the canvas becomes more than decor. It becomes a small record of what your child noticed, chose, and created during that season.
Children do not need to make art that looks perfect or matches an adult example. Letting them make the design decisions builds confidence and ownership. Then, when we hang their work alongside the rest of our home decor, we show them that their creativity is not just an activity to keep them busy. It is something we genuinely value.
Make It an Educational Nature Activity
Extend the project with a few simple questions:
What shapes do you notice in your leaves?
How are the leaves alike and different?
Can you find the veins, edges, stems, or needles?
Which plants stay green throughout the year?
What happened to the leaves while they were pressed?
How would your arrangement change if you used a different background color?
Older children can identify the plants, sketch them in a nature journal, or label the finished pieces with common and scientific names.
A Simple Craft Worth Keeping
This project combines so many things I love: time outside, open-ended creativity, inexpensive materials, and children making something meaningful enough to become part of the home.
The next time you need an easy rainy-day craft or a peaceful backyard activity, gather a few leaves and begin pressing them. A week or two later, you will have everything you need to create beautiful botanical art together.
If you make these gold pressed-leaf canvases, I would love to see how your children arrange their nature finds. You can find the complete supply list in my Amazon storefront, along with more of my favorite materials for children’s crafts and learning activities.
Raising Young Artists and Nature Lovers?
Nature Inspired Art is just one way to help children develop their creativity, curiosity, patience, and love of nature.
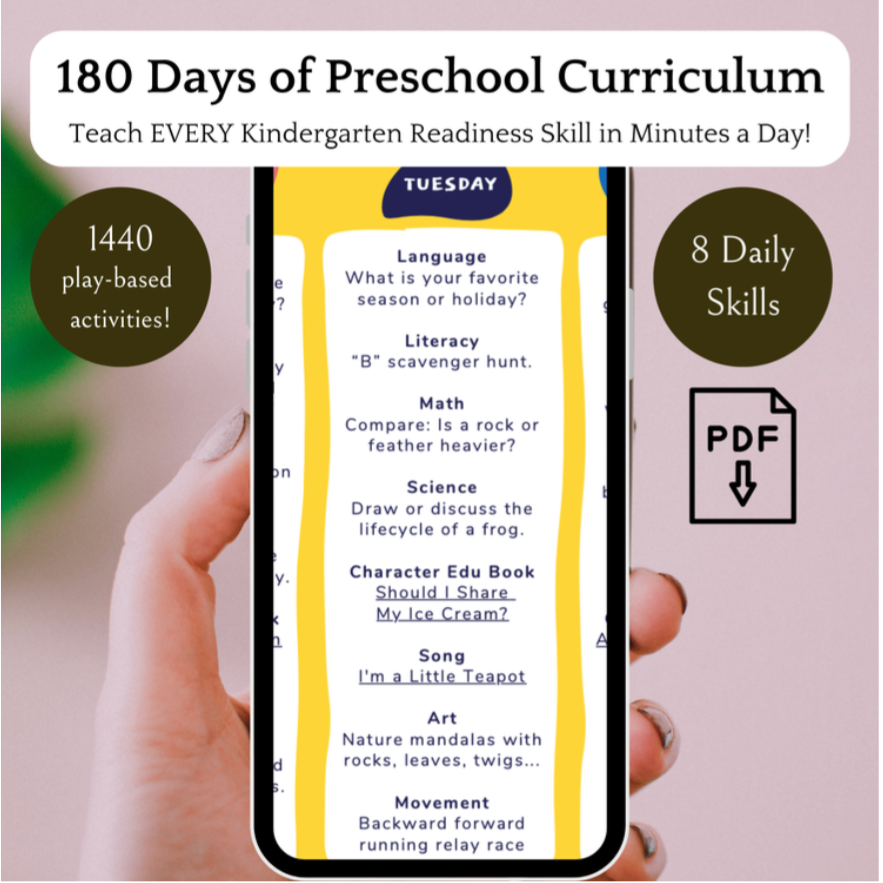
If you're looking for more screen-free, hands-on learning experiences, my Preschool Curriculum Collection includes hundreds of play-based lessons that help children explore science, nature, healthy living, kindness, problem-solving, and environmental stewardship while building strong academic foundations.
Browse the curriculum below and join thousands of families who are making learning joyful, meaningful, and connected to the real world.
🌱 Play-Based Preschool Curriculum
📚 Printable Preschool Curriculum
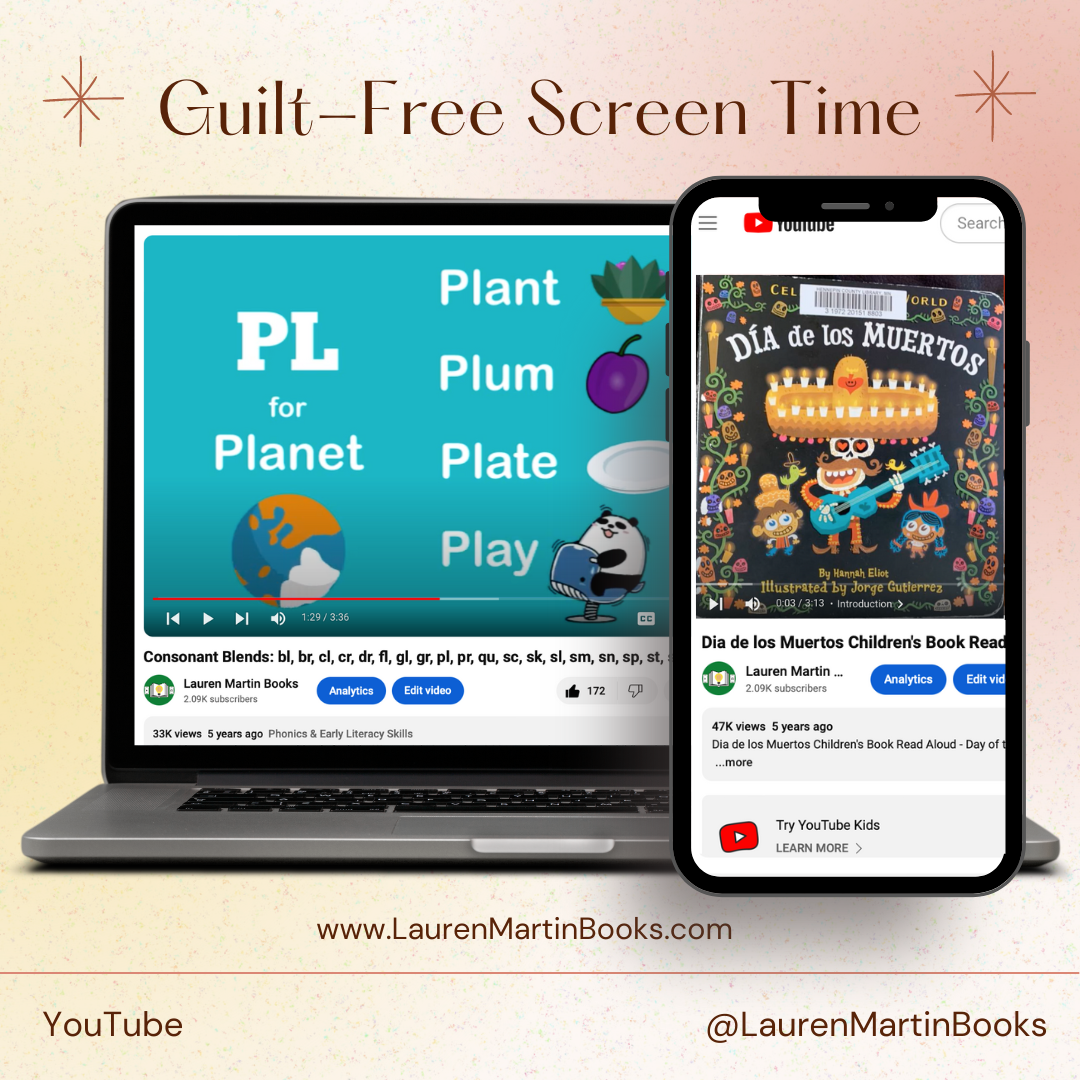
🎥 Free Read-Alouds and Educational Videos on YouTube
🌸 Save 10% on flowers and plants at TN Nursery whenever you use my link to shop: tnnursery.net/LAURENMARTINBOOKS (Discount applied at checkout!)


Together, we can help children grow into thoughtful, confident learners who care for themselves, their communities, and the world around them.